wg-init - Automated WireGuard Client Key Generation & Bootstrapping
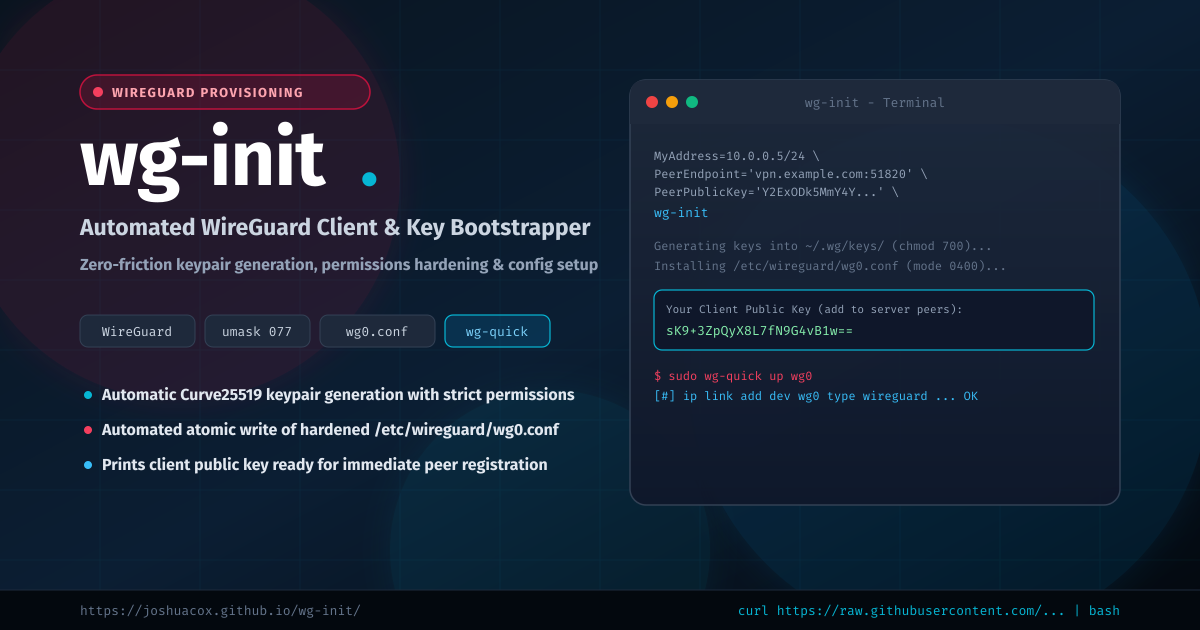
Setting up a new WireGuard client connection manually requires several repetitive, error-prone steps: generating private and public keypairs via wg genkey and wg pubkey, ensuring strict private file permissions (umask 0077), assembling the INI configuration file, and installing it into /etc/wireguard/wg0.conf with root ownership.
wg-init streamlines client provisioning into a single, repeatable command. It automates key generation, permission hardening, environment verification, and configuration deployment so you can bring up secure tunnels in seconds.
What is wg-init?
wg-init is an automated WireGuard client initialization and bootstrapping script. Given your peer details (server endpoint, peer public key, and IP allocation), wg-init:
- Prepares a secure directory structure in
~/.wg/keys/locked down tochmod 700. - Generates a fresh Curve25519 private key with strict
umask 0077and computes its corresponding public key. - Validates required network parameters (address mask, DNS resolver, peer endpoint).
- Generates a clean
/etc/wireguard/wg0.confand installs it with mode0400. - Emits the client public key to stdout, ready to be registered on the WireGuard server or peer.
Visit the interactive configuration generator and documentation site at joshuacox.github.io/wg-init or check out the GitHub repository.
Key Features
- Automated Keypair Generation: Generates private and public keys using native
wg genkeyandwg pubkeywithout leaving unencrypted temporary files exposed. - Strict Permission Enforcement: Enforces
umask 0077during generation and installs/etc/wireguard/wg0.confwith restricted read-only permissions (0400). - Collision Protection: Checks if
wg0.confalready exists before overwriting, preventing accidental loss of working configurations. - Input Validation: Verifies all required variables (
MyAddress,MyDNS,PeerPublicKey,PeerAllowedIPs,PeerEndpoint) before attempting configuration writes. - One-Command Tunnel Bring-Up: Once the public key is registered on the server, bringing up the tunnel is as simple as
sudo wg-quick up wg0. - Docker Sandbox Testing: Includes a containerized sandbox environment (
./run.sh) to test WireGuard client handshakes without altering host networking.
Installation
One-Line Bootstrap
Install immediately into your system:
curl -sL https://raw.githubusercontent.com/joshuacox/wg-init/refs/heads/main/bootstrap | bash
From Source (Make)
git clone https://github.com/joshuacox/wg-init.git
cd wg-init
sudo make install
Make sure you have WireGuard tools installed (e.g. sudo apt install wireguard wireguard-tools or sudo pacman -S wireguard-tools).
Usage & Step-by-Step Walkthrough
1. Provision the Client Configuration
Provide your connection parameters as environment variables:
MyAddress=10.0.0.5/24 \
MyDNS=1.1.1.1 \
PeerEndpoint='vpn.example.com:51820' \
PeerPublicKey='Y2ExODk5MmY4YTMyNTYyZDFkOGIxZDYzZTMxNDFmOWU=' \
PeerAllowedIPs='0.0.0.0/0' \
wg-init
2. Register Your Public Key with the Server
wg-init finishes by displaying your client public key:
Installing /etc/wireguard/wg0.conf to /etc/wireguard/
You can now use wg-quick:
  sudo wg-quick up wg0
After you add your pub to your peer. Your pub is:

sK9+3ZpQyX8L7fN9G4vB1w2xY8H3jL6mN0pQ5rS7tU=
Add this public key and your assigned IP (10.0.0.5/32) to the server's WireGuard configuration (wg set wg0 peer <KEY> allowed-ips 10.0.0.5/32).
3. Bring Up the Connection
sudo wg-quick up wg0
Verify the handshake:
sudo wg show
To disconnect:
sudo wg-quick down wg0
Testing with Docker Sandbox
If you are developing or testing configuration workflows in CI/CD without wanting to modify the host machine's /etc/wireguard directory, wg-init provides a dedicated container runner:
./run.sh
Links & Documentation
- Documentation Site & Generator: https://joshuacox.github.io/wg-init/
- GitHub Repository: https://github.com/joshuacox/wg-init
- Issue Tracker: https://github.com/joshuacox/wg-init/issues